


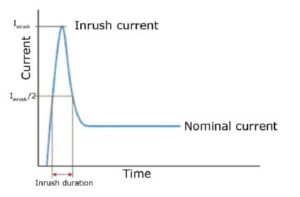

Old lamps were forgiving. LED is not, at least not to the control gear sitting on top of it.
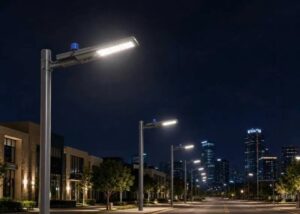
Chiang Rai’s smart lighting market is not looking for basic photocells. It needs wireless control that actually works in difficult
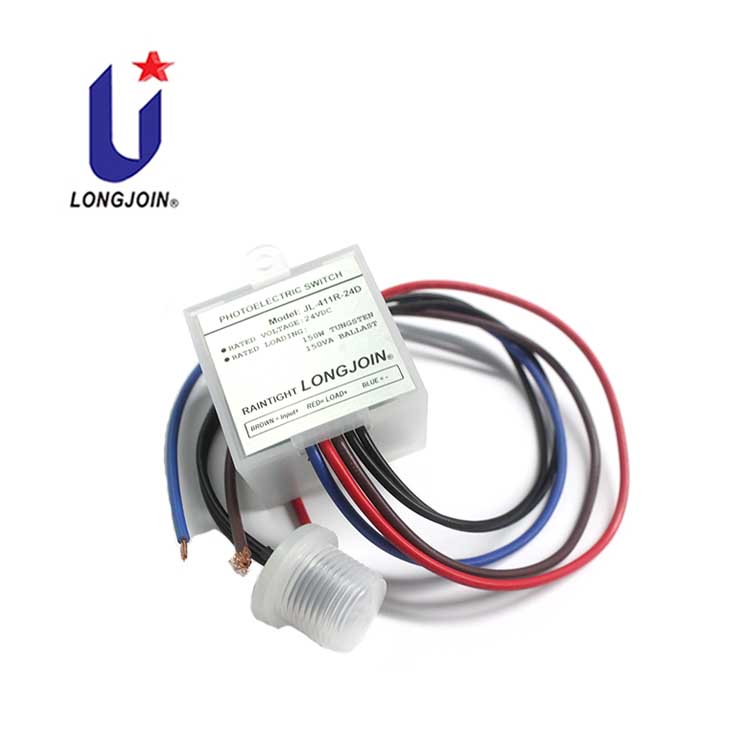
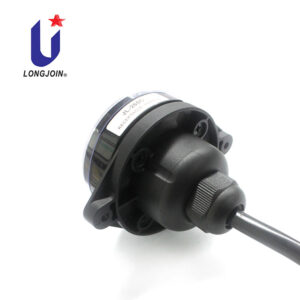
Long-Join wire-in photocells like JL-103A work best outdoors. Simple. Reliable. Perfect for lights that need automatic dusk-to-dawn control.
For
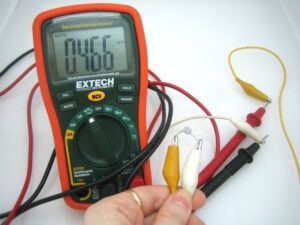
A quick waterproof test won’t replace a full lab test. But it catches obvious problems before installation. Faucet rinsing. Cup