
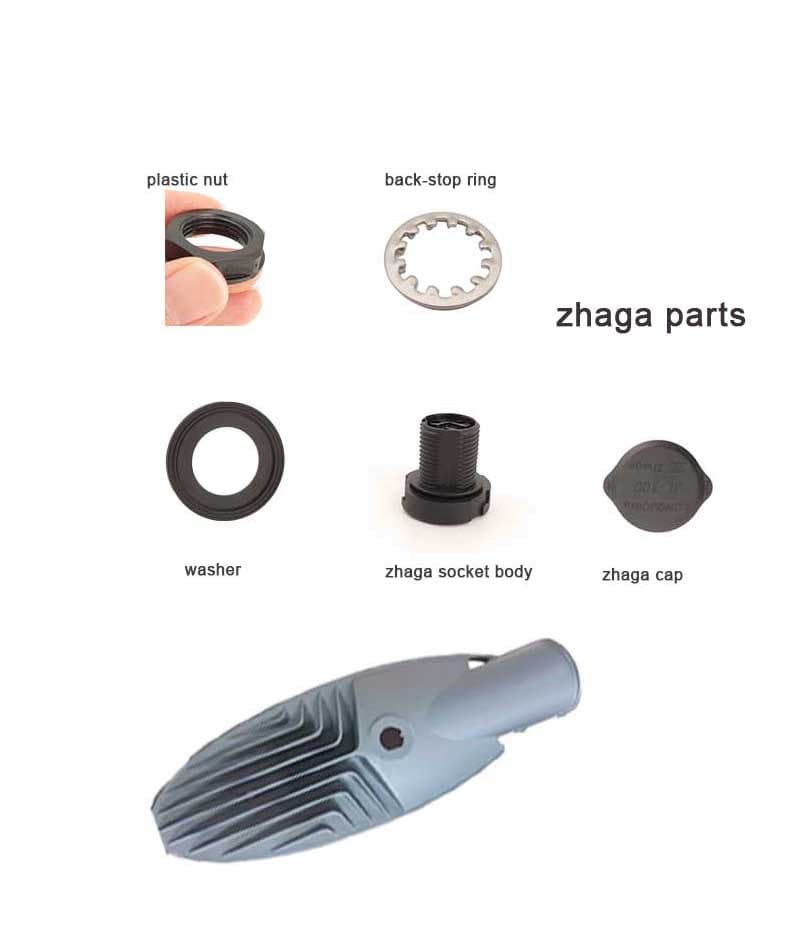


NEMA 3-pin receptacles are the practical choice for simple automatic street lighting. NEMA 7-pin receptacles are built for smart control,
If you want the simplest conclusion:
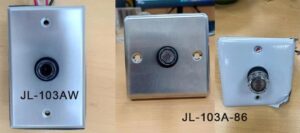
●JL-103A is a solid choice for normal residential or light commercial installs where
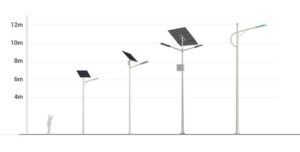
Match pole height to realistic power, then match the control to the fixture style and outdoor stress level. That’s how
Fail On and Fail Off are not “better or worse.” They are tools. Pick Fail On when darkness is the